Another refashion
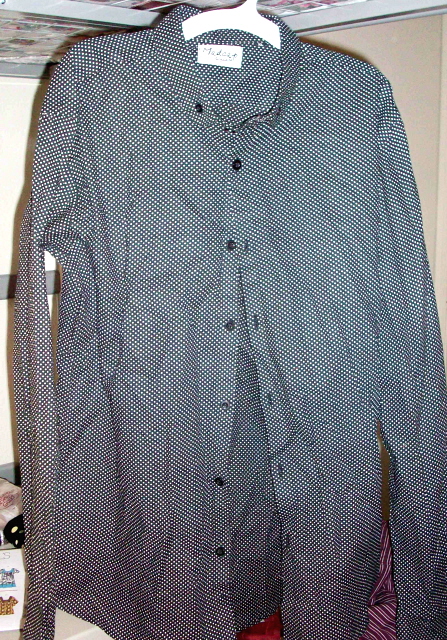
I’ve been neglecting my blog! I apologize. You know how it is; school, work, studying, etc. It never seems to end. Although I have very limited time to dedicate to sewing, I have managed to make something here and there. My latest has been a refashion of an oversized shirt to a smaller, more flattering summer top.
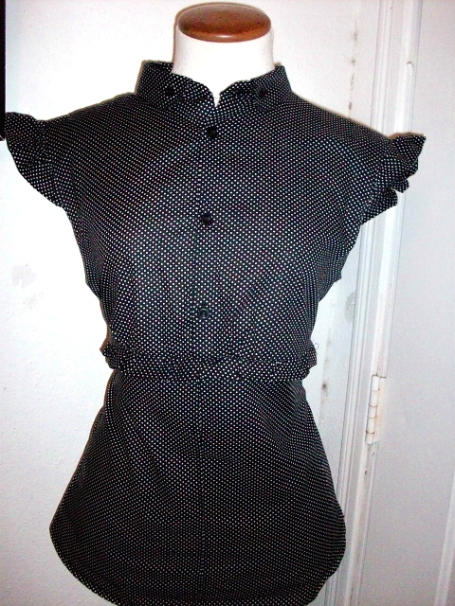
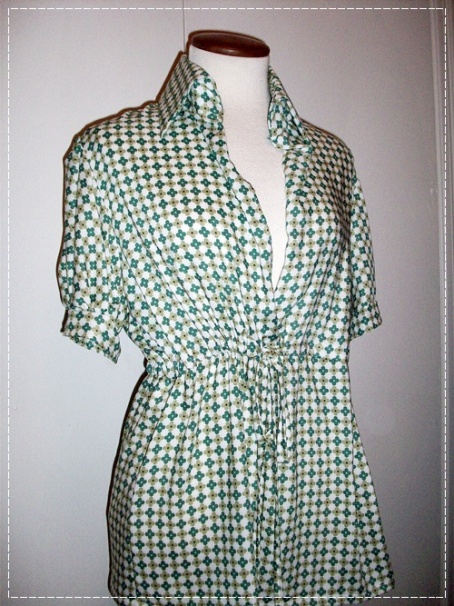
The before shirt was an oversized, polka dot, cotton men’s shirt. The after shirt is a more flattering top with flutter sleeves, and ruffle detail at the waist.
Here are some photos:
Here’s the after shirt:
It was a really simple refashion and cheap, too! Anyone interested in a tutorial?
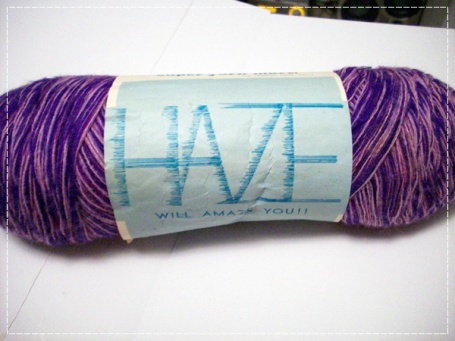
Purple Haze
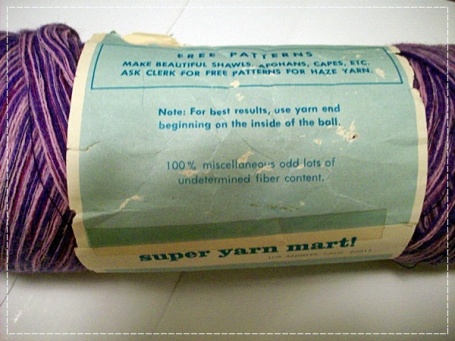
I recently picked this (and a few other skeins of purple yarn) at my local thrift store. I had never thought of looking for yarn at a thrift store, but apparently it is a gold mine for scrap yarn, needles and vintage patterns. This skein was packed up with my other purple skeins and cost about a dollar and a half total. This yarn in particular was interesting to me, mainly for it’s interesting name (“Haze”) and then for its intriguing fiber content:
Wow. Good thing I’m no yarn snob. I am looking for the perfect crazy, ironic vintage pattern to use with yarn for a birthday gift for a friend who loves purple.
On another note, I added my stash to Ravelry! What a wonderful resource for knitters and crocheters. I can finally keep track of projects and yarn all at one, well-organized place. Hurray, Ravelry!
Still Here…
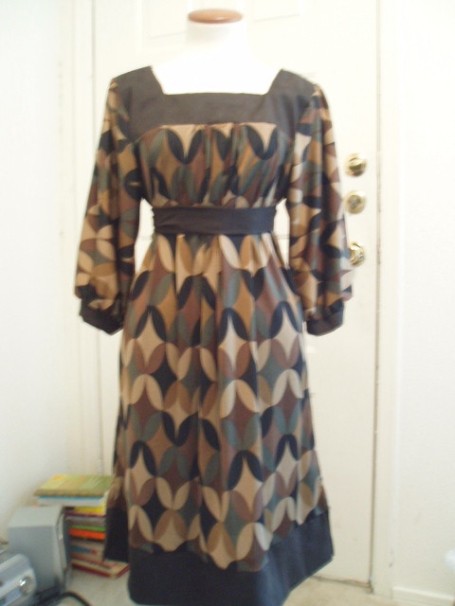
Things have been crazy busy, what with school, work and my internship. Sadly, the one area of my life that has been neglected is my sewing and knitting. I did manage to finish this blouse several weeks ago. It’s made of some challis that I got on sale at Hancock Fabrics. I can’t remember the pattern but I will post the pattern number when I am able to look for it. It was relatively easy to complete however, the pattern called for much more fabric than I actually used (nearly double). So, alas, I have quite a bit of leftover fabric from this project. Has anyone else had this problem? It seems to me that most patterns I use call for much more fabric than they actually require. I hope it’s not just me…
Here is the completed blouse:
Some details include an empire waist with ties and puffed sleeved. I did some minor alterations to the pattern, including raising the hem about 3-4 inches so that it was a more attractive length.
I have also finished two knitting projects! Posts to come, soon. Another thing that is totally sucking away any crafting time is my new obession with Ravelry. I know I am probably a little late in joining this community but I am totally hooked! What a great concept for a website, it’s so inpiring to see such a collection of talent. If you haven’t already and you’re a knitter or crocheter, check it out. You will not be disappointed.
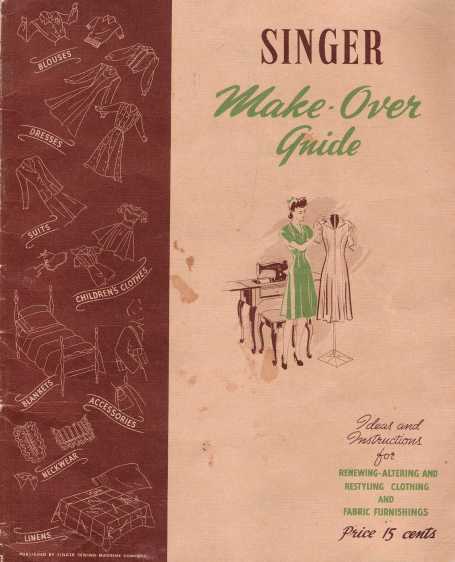
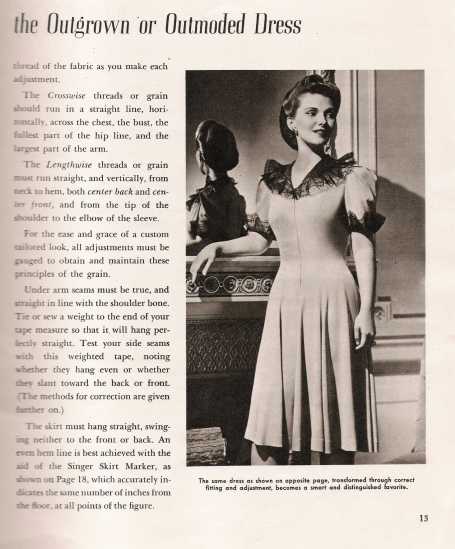
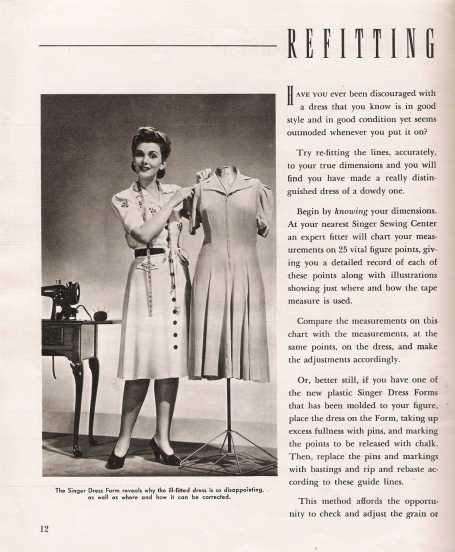
It’s been six months since I joined Wardrobe Refashion and I am happy to say I have not purchased new clothes, however I am saddened to mention that I have barely made any new clothes, either. I have plans, big plans, but they are often hard to execute due to lack of time. Anyhow, in honor of my sx month pledge I have included some fun refashioning tips from a vintage sewing book that I own. It’s the Singer MakeOver Guide (circa 1952) and is full of wonderful tips to take your outdated wardrobe into a new season. Make sure to click on the photos to see the large view. Enjoy!
Worst blogger in the world…
That’s me. Sorry it has been so long since my last post (Christmas!), but as always, I’ve been busy with sewing and regular life. I’ve completed a couple of new projects, and have a dozen or so on the “To Do” list. I finished a brand new dress to wear for the holidays from Simplicity 3535 “Project Runway” pattern. The pattern was fairly easy to follow, considering all of the possible alterations/changes one could do to it. The photo makes it look slightly “Little Home on the Prarie”, but I assure you, it is a very modern, chic dress.
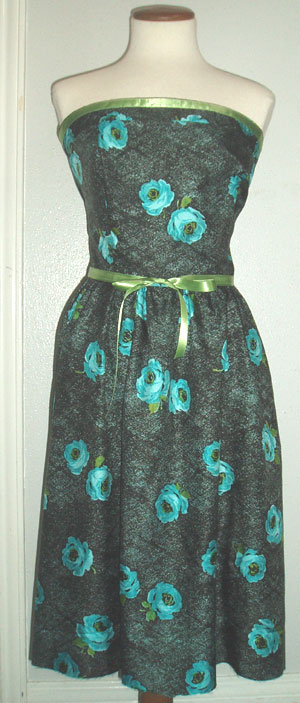
I’ve also recently finished a reconstruction…remember this dress?
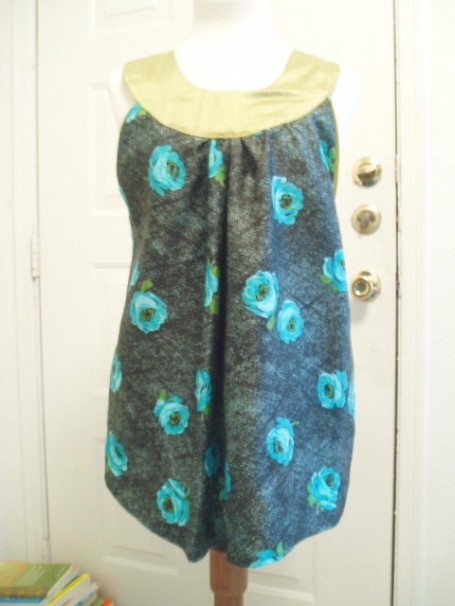
This dress was made years ago, and incidentally was never finished. It is made from some delicious vintage fabric that I could not possibly give up, so I used a new McCall’s pattern to make this stylish top:
The collar is made in chartreuse green silk duipioni that matches the green leaves in the fabric perfectly. As you can tell from the quality of these photos, I still need a digital camera. Any suggestions?
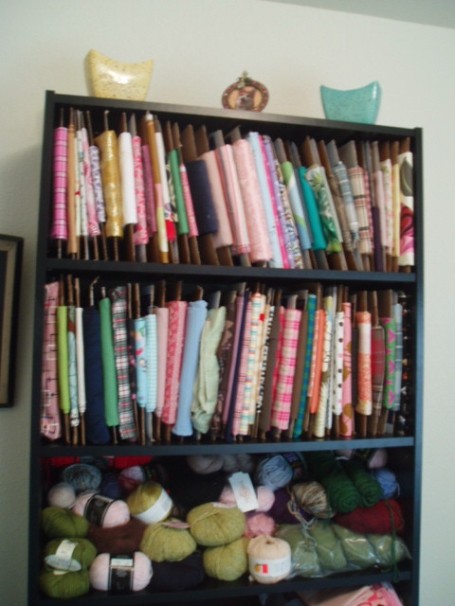
As part of my New Year’s resolutions, I have finally cleaned and organized my sewing room. I bought an inexpensive bookcase and organized my fabric stash like this:
That’s just yards of fabric that I washed, ironed and measured, and then rolled on to a piece of cardboard and secured with quilting pins. Very simple, and it keeps my fabrics organized and accessible. I also keep track of my inventory by pinning a small piece of paper to the front of each mini-bolt with the amount of fabric as well as the fiber content.
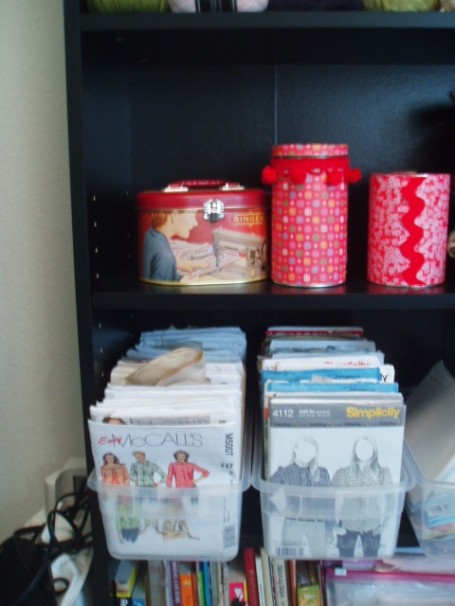
I keep my patterns in little plastic shoe boxes that I purchased at Target for $1.99. I also keep larger patterns or “patterns in progress” (those patterns that I have already cut, but have not yet assembled) in large zip-lock bags so that the contents are easily seen. I also made custom tins for notions, needles, and thread. Having a clean and tidy area to work is the best thing for creativity. This new system is very inspiring, I must say.
I will post again soon, as I have several new projects in the works, a new knitted sweater (so close to being done!), new links and a new tutorial in the works for you!
Merry Christmas!
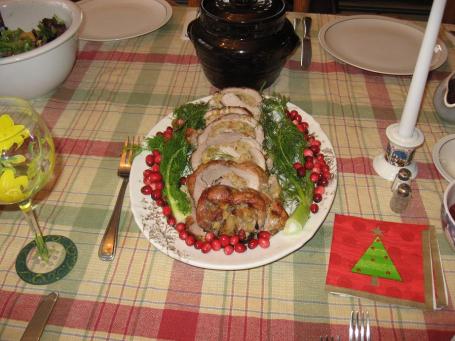
Just a quick post to wish everyone a Merry Christmas! I’ve been away from Austin, spending time in Connecticut with my folks. We’ve been spending a lot of time…eating! For Christmas dinner we made a huge meal including a fennel stuffed pork loin, butternut squash risotto, and kielbasa & sauerkraut.
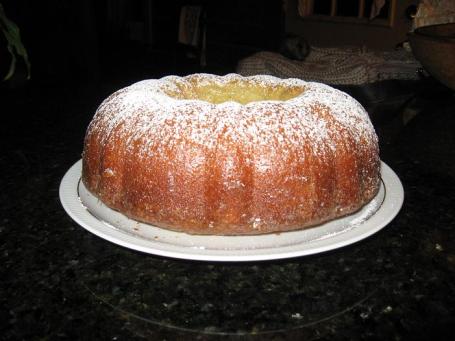
For dessert, I made my aunt’s world famous Kentucky Butter Cake. This was my first attempt, and it came out perfectly! This cake is choc full of calories but it is so, so, delicious.
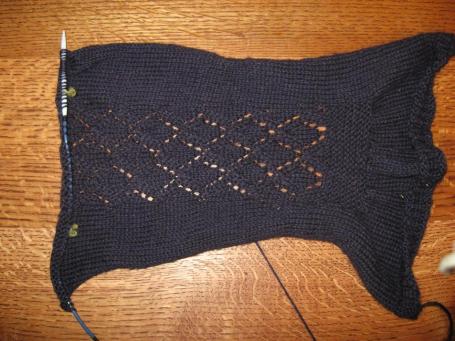
Even with all this eating, I have still found time to do some crafting. I went to Northhampton last week to visit Webs. Of course I bought tons of yarn, including some to make this lovely sweater, and here is my progress so far:
I’m knitting this in Classic AL, 50% Baby Alpaca and 50% Merino Wool, in a lovely eggplant color. I adore it. Aside from making stuff, I am showing my mom how to make her own blog! She just started it today, and is learning pretty quickly. I hope everyone’s holiday was as wonderful and as filling as mine. Merry Christmas!
‘Tis the season…
for new coats!
Sorry I’ve been gone so long. School and work take up loads of time. I have been working on a few new projects, and now that the weather is dipping into the low 50’s, it’s time for a proper winter coat!
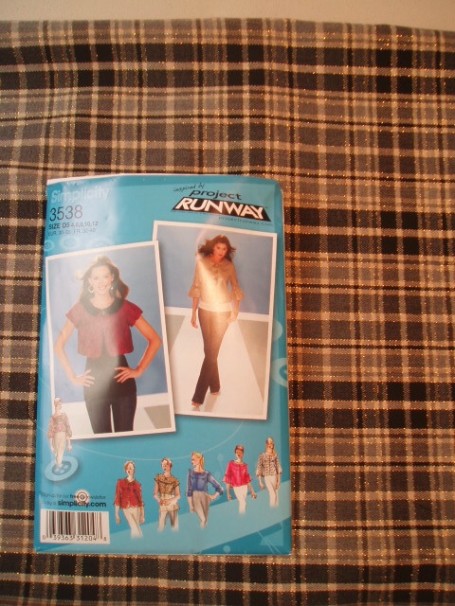
I started with a light holiday jacket, from this pattern:
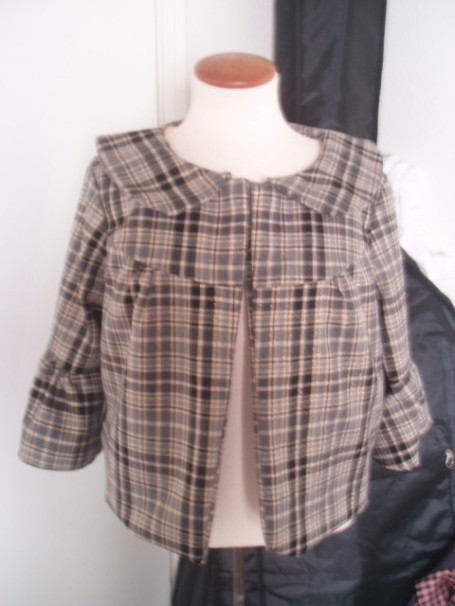
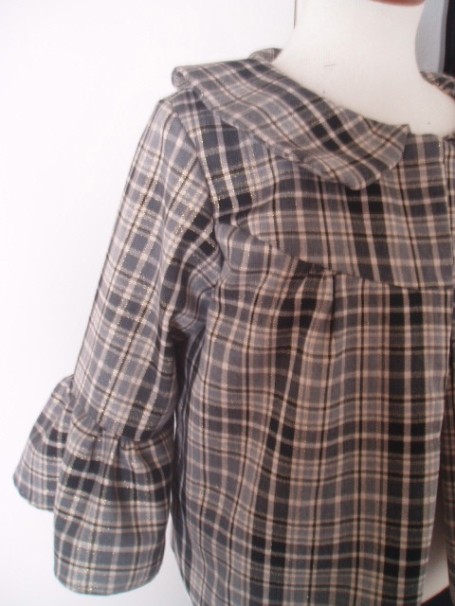
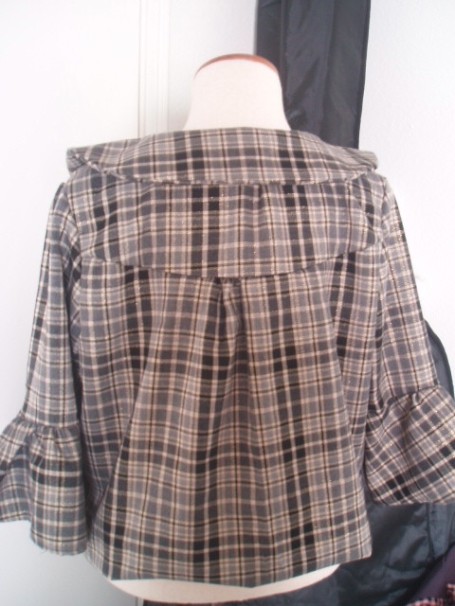
The finished product (sans the buttons and some light finishing):
Front view
Side view
Back view
The Pattern: Simplicity has just put out a new line of sewing patterns that are “inspired” by Project Runway, where they have a basic style that you can customize with ribbons, different lengths, cuffs, fabrics, etc. to make it your own style. At first glance, the pattern is a bit complicated to understand, but after a few moments of reading (always read your patterns completely through before beginning your project!), it was a cinch. Cost of pattern: $1.99
The fabric: I used a wool blend that has grays, blacks, and shiny gold running through the plaid. It was 50% off, so the outer fabric was $7.00. I used a shiny butter yellow charmeuse for the lining (polyester) $3.00.
Notions: Thread and buttons (vintage) from my stash.
Total cost of holiday jacket: $11.99
The pictures make it look very homely, when in fact it is very flattering and adorable!
Here is the pattern I am using for my next coat:
I am doing this in butter “suede”, with no applique and covered buttons. Post to follow soon!
I learned a nice little tip while beginning the above coat. I just bought a brand new iron and like a fool, I accidently ironed the wrong side of some fusible interfacing!! A quick search on-line led to this great tip:
1.) Lay out a brown paper back flat on the floor or ironing board.
2.) Cover with several tablespoons of table salt.
3.) With your iron on its highest setting, iron the salt in a circular motion.
4.) Continue to do so until all of the burned interfacing has been removed.
5.) Let iron cool and wipe with soft rag.
It got rid of the melted interfacing in seconds! My iron is back to new.
I’m still here…
…to wish you a Happy Thanksgiving! I promise to post lots of new projects, very soon. I hope everyone has a wonderful and safe holiday!
A new dress…
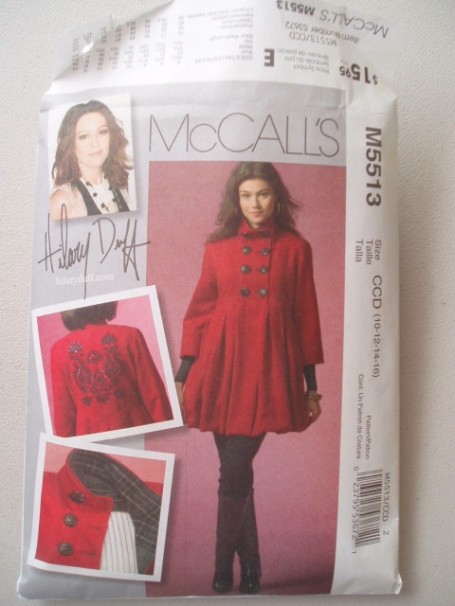
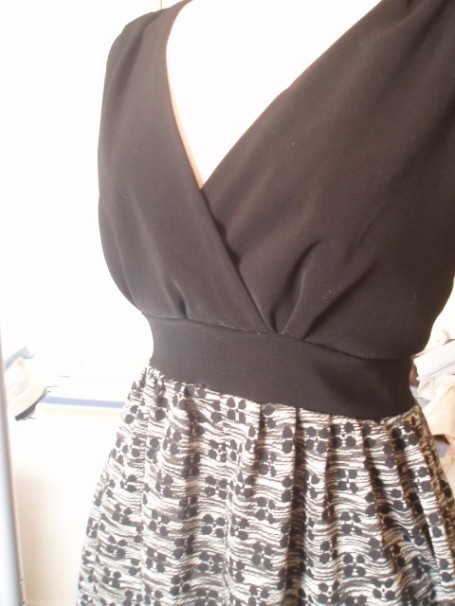
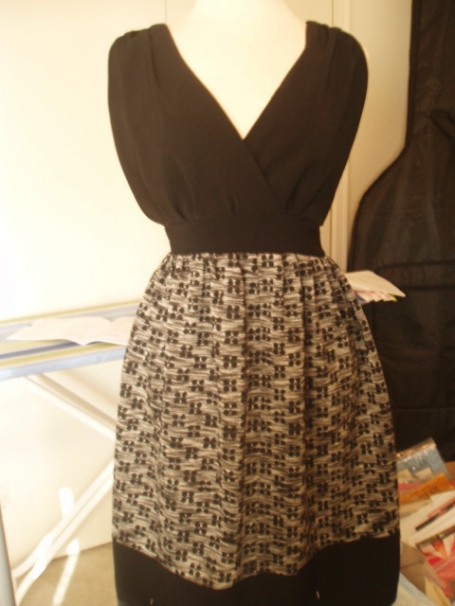
Every time I have an evening out, I never have anything to wear (even though I have tons of clothes). Tonight, I am going out to a 1960’s DJ night, and I wanted something fun to wear. I whipped this dress up in about an hour, with materials that were floating around in my stash. The bodice is made of a lovely black material that has a beautiful drape (I used it to make a pencil skirt for my Grandparent’s 50th wedding anniversary party last summer) , and the skirt is a 1960’s vintage fabric that I had laying around. I put the two together, using this pattern, and now I have a lovely new dress for my wardrobe. Of course, this is all due to my affiliation with Wardrobe Refashion, it has now been a month and I have not purchased any new clothes. It feels very liberating.
On with the photos!
Close-up of bodice, good detail of skirt fabric…
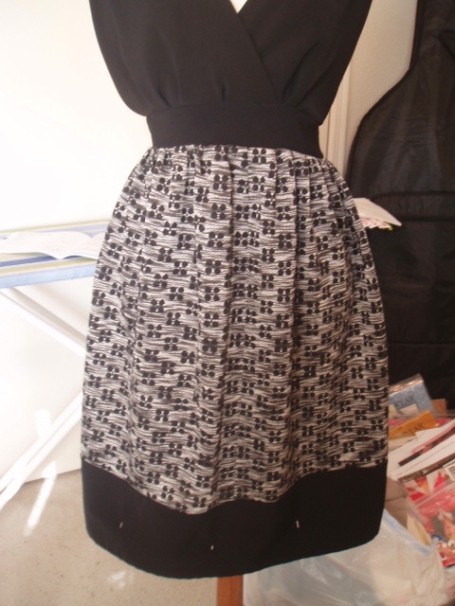
Bottom of skirt still has pins which are holding up my blind hem…
Dress skirt….please ignore the disaster that is my sewing room!!!
I will be posting again soon…I’ve been working very hard…
My Mom
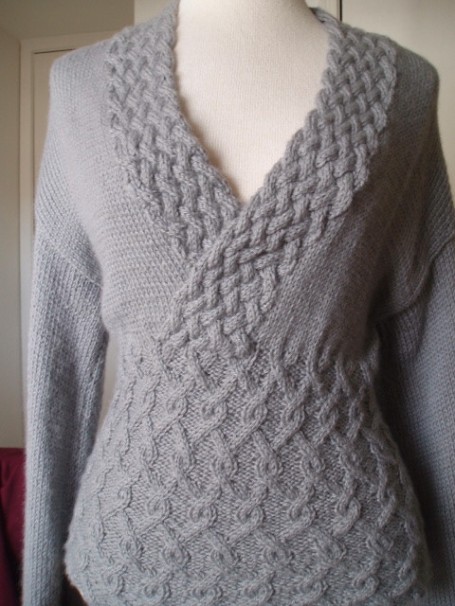
I thought I would share this beautiful sweater my mom made for me last Christmas. I have yet an occasion to wear it, this being hot, hot, Texas, and the sweater is quite warm Well, Fall weather is finally here and I can not wait to bust this sweater out! My mom put a lot of time and effort into it, and it really shows. It is absolutely beautiful.
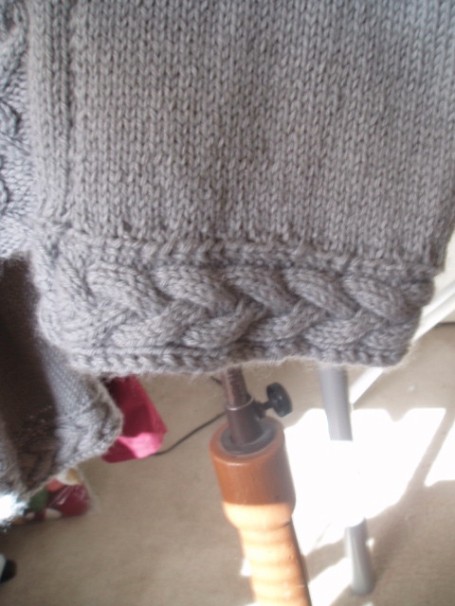
Here is a close-up of the detail on the sleeves:
It is knit in Knit Picks Elegance, which is 80% Baby Alpaca and 20% cashmere…sooooo soft. My mom taught me how to knit when I was 7 or 8. I used to love making things, even back then. I stopped knitting for nearly 10 years, until about 6 years ago I picked it up again, with the help of my mom. She is a super good knitter, and now we exchange patterns, tips and more. She helps me out a lot, even though she is 2,000 miles away. Any time I encounter a problem in a pattern, she works through it with me on the telephone!! That is some good parenting, right there. Well, I hope you enjoy my Christmas sweater. I am finishing up a few more projects today, that I will post tonight.
Refashioned Sweater into Cardigan
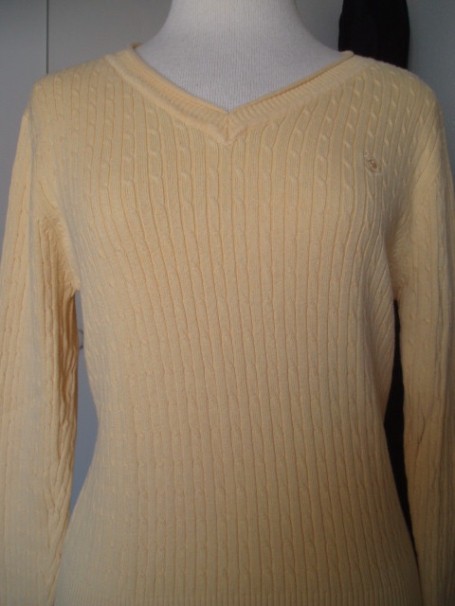
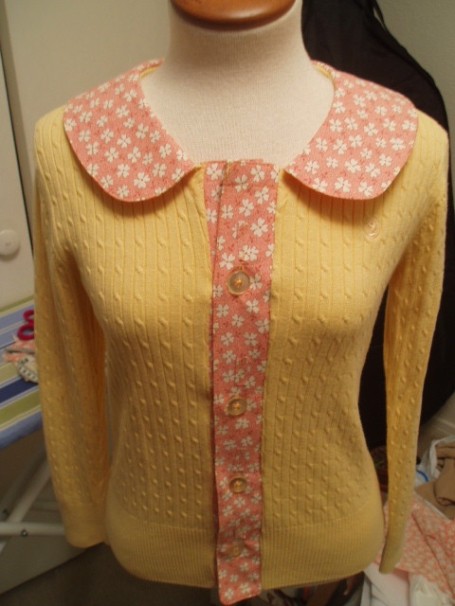
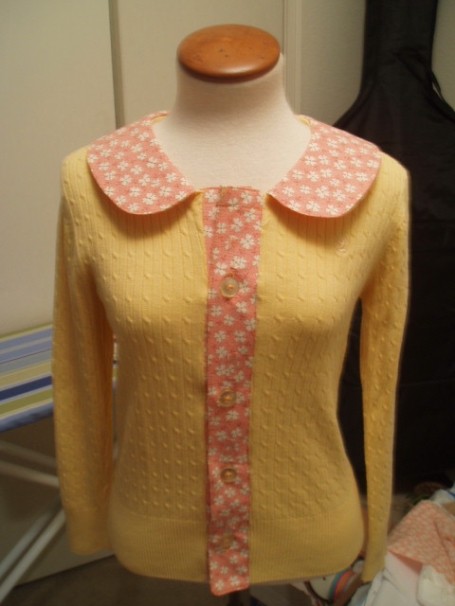
I finished a couple more projects over this weekend, including a refashioned sweater into a delightful cardigan! I am still new to blogging, so I am not sure how to put this tutorial into a seperate page (so those that are not interested don’t have to read a super long post!), but I will figure it out soon enough. The project took approximately 2.5 hours to make, and was really fun to do. If you’re interested in a tutorial, see below. If not, here are some before and after pics:
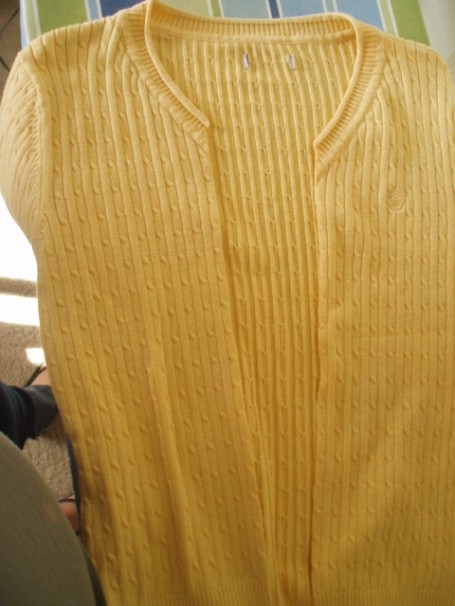
Before, butter- yellow, yet boring cabled sweater…
Snazzy new cardigan!
(Read on for tutorial….)
Materials Needed:
- One sweater that fits you well (crew neck or V-neck)
- 1/2 yard complimentary fabric (cotton works best, look in the quilting section for inspiration!)
- 1/2 yard light-weight interfacing
- complimentary thread
- 4 or 5 matching buttons, depending on size
Total time: 2.5 hours
Total cost: About $3.50 (for fabric; sweater, buttons, interfacing, thread were in stash!)
Step 1:
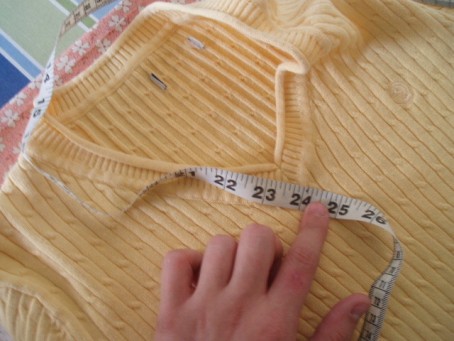
Prewash and iron all fabric, including sweater. Measure the neck circumfrence of sweater.
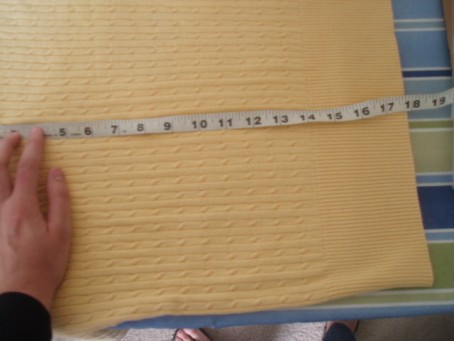
Measure the length of the body of the sweater so you know how long to make the button bands.
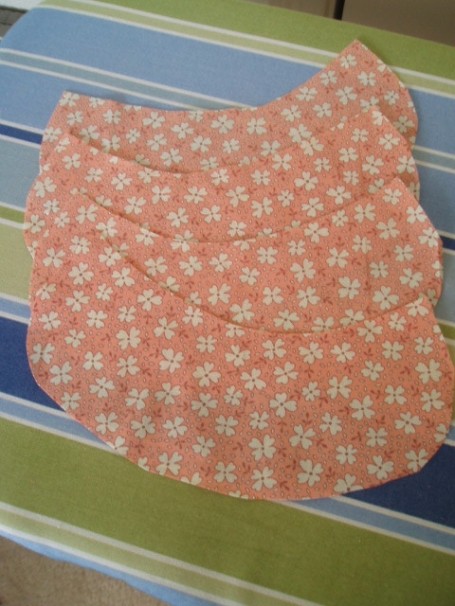
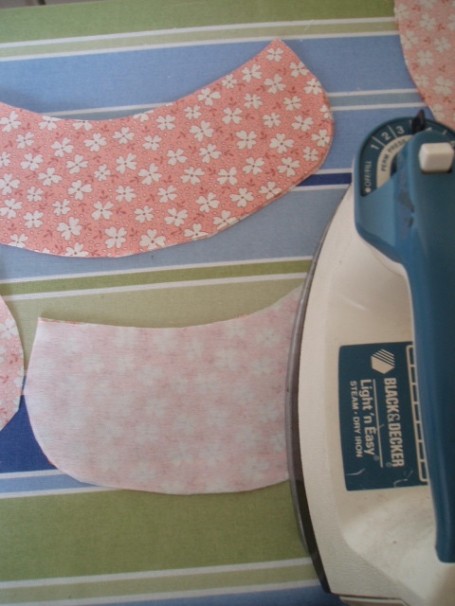
Step 2: Cut your pattern pieces. I used a peter pan collar template for my collar, but you can use any kind of collar you desire. For the peter pan collar, cut 4 pieces of fabric and 2 pieces of interfacing:
In addition cut 4 pieces of fabric that are 2.5″ in width and the length of your sweater (mine was 18″, so I added an additional 1/2″ for seam allowances). Cut two matching pieces of interfacing.
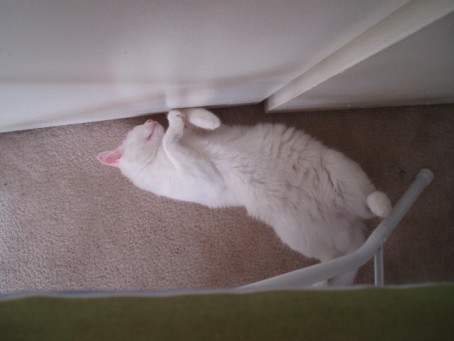
(Totally unrelated – my kitten was begging to come in and help me sew <I never let the kittens into the craft room – disaster!>, so I let her in and she instantly fell asleep as she watched me press pattern pieces)
Step 3: Iron interfacing to pieces of matching fabric. You should have 2 interfaced collar pieces and 2 interfaced button bands.
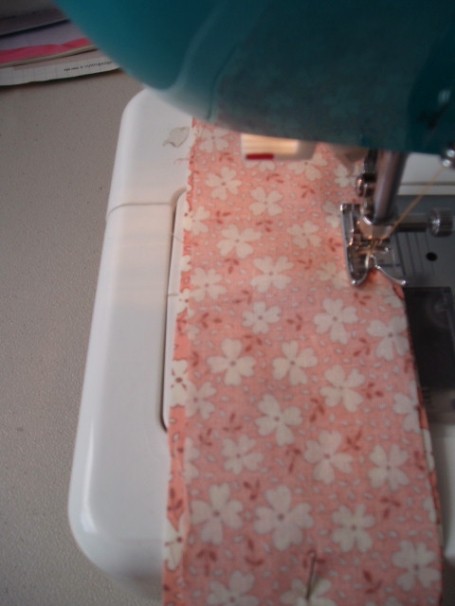
Step 4: Match un-interfaced pieces with their interfaced counterparts, right sides together. Pin and stitch with a 1/4″ seam allowance.
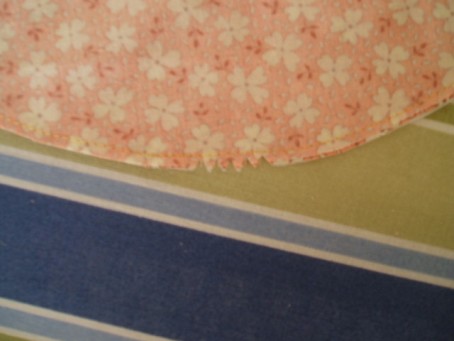
Step 5: Trim edges on button bands, and notch edges of collar pieces, so that they will lie flat when turned right-side out.
Step 6: Turn pattern pieces right-side out, top stitch if desired (I recommend this). Press pieces to set stitches. Set aside.
Step 7: Cut a 2.5″ strip out of your sweater, making sure it is centered.
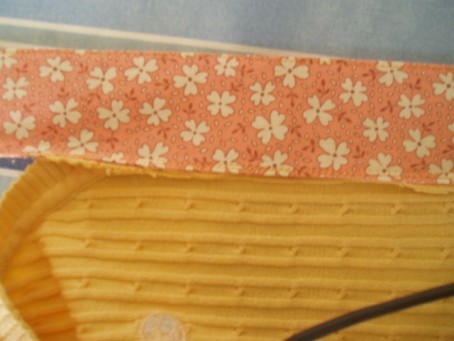
Step 8: Pin button band pieces along center seams that you just created, right sides together. Do the same for the other side. Stitch, staying close to edge and press seams towards body of the sweater.
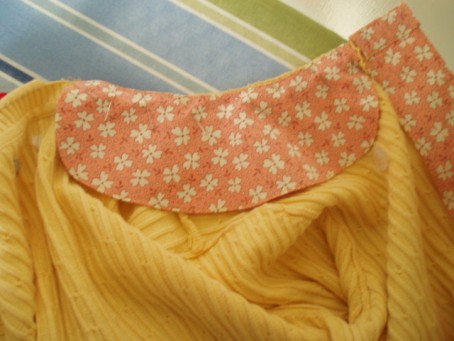
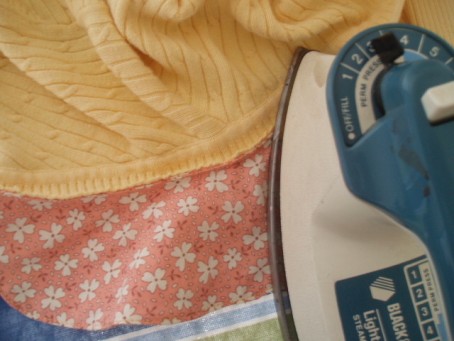
Step 8: Pin collar pieces to inside of collar seam, matching front of collar so that it sits near the button band. Pin, and stitch in place. Press seam down towards the sweater, flipping collar to other side of the sweater so that the right side shows.
Step 9: Mark out placement of button holes and buttons on button band. If you have an automatic buttonhole maker on your machine, use that. Add buttons to other button band so that they match up with holes. Press button bands and collar. You may want to use a few anchoring stitches to hold collar in place. That’s it!
You could now add matching sleeve cuffs, pockets, or whatever else you want to do.
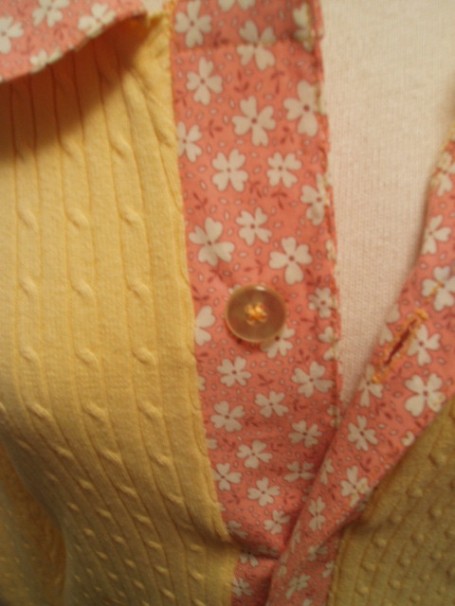
Close-up of button band.
Let me know if you have any questions or if I can clarify anything. Happy sewing.
